
The idea of creating an HDRI can help a lot in lighting a scene with an exact color mood. Depending on the intention of the artist. Virtual cameras can determine light values via pixels.
If you have a 3d scene with ready setup. Try applying an HDRI from the same environment. This can be very helpful in real-time screen space reflections, since the sky sphere texture is the primary reflection.
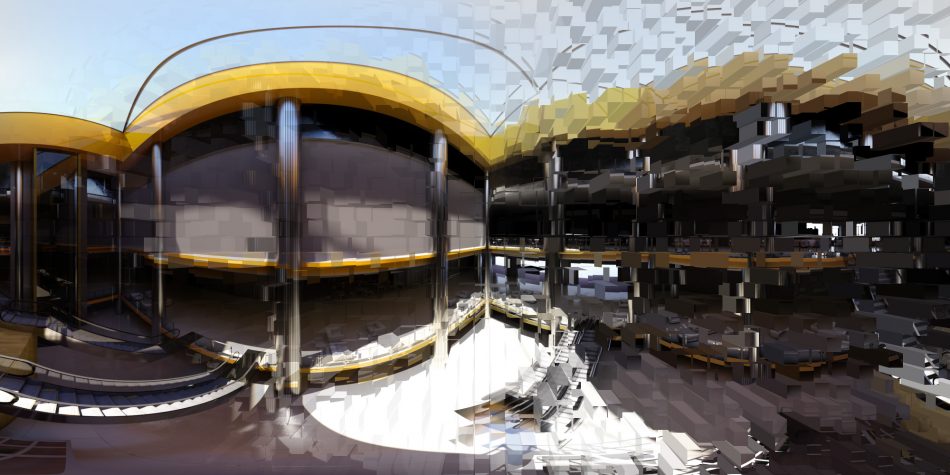
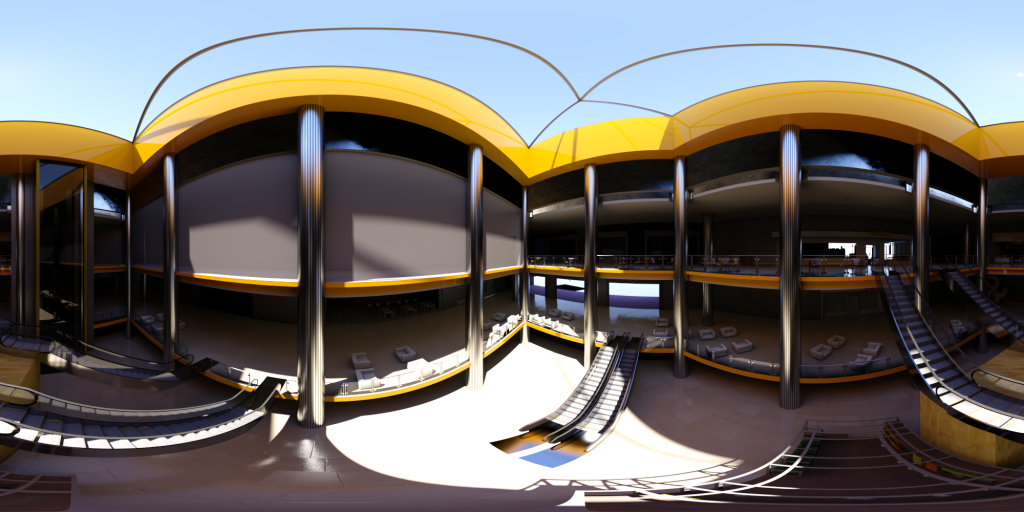
One of the easiest programs to do this is SimLab Composer. The image is below is a rendered HDRI from the same program.
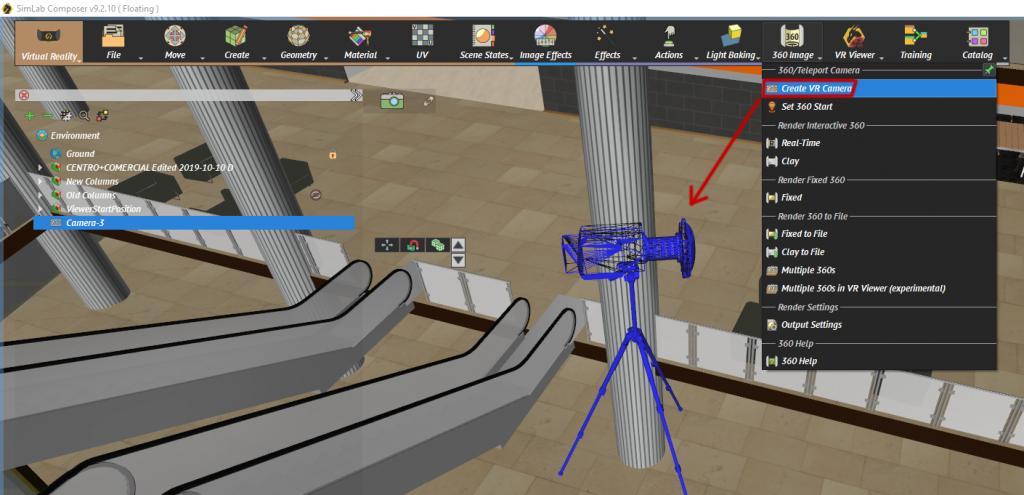
First step in creating you own HDRI is importing the model into your SimLab composer by pressing Ctrl + I . Then you need to create a VR camera from the 360 Image tab in Virtual Reality mode. Make sure to setup your environment’s lighting settings.
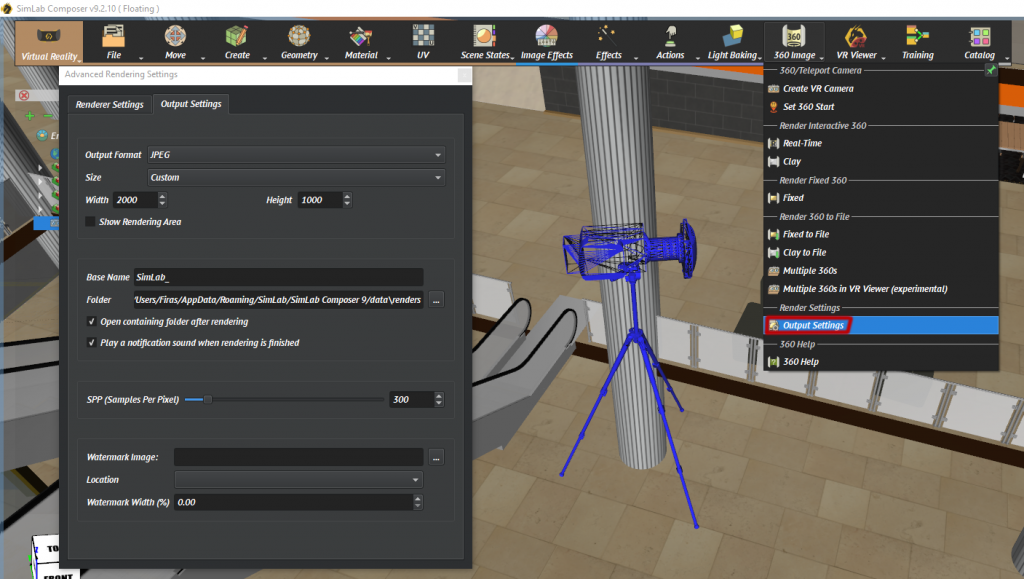
Then from the same menu, select Output Settings. Here you can set the resolution you need. (To learn more about the effect of HDRI resolution head to our Selecting your HDRI blog Here)
Afterwards from the same menu, select Fixed from Render Fixed 360 sub-menu. The render production might take some time; depending on the settings, amount of textures, polygons and light bounces.
Finally, when your image is ready. Press anywhere on the view port and select Capture Image. Then select the image extension you want to save with; in this case it’s .hdr.
You can use this 32-bit image like any other hdr file, if you have any questions or have problems creating your own HDRI, I am glad to help.
Pingback: Distributed Rendering Packages • 3D CAD VR Realism Architecture